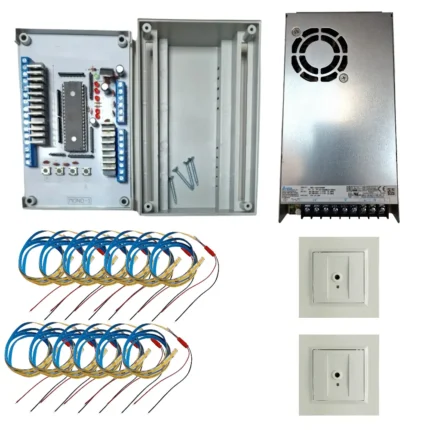
Installation and Usage Instructions for the Intelligent Stair Controller – Version 5-20 Light Points
When installing the controller, follow these important precautions:
- Correctly connect the +12V and -12V wires. Reversing the connection can damage the processor.
- Avoid touching the circuit board on the solder points side when the controller is on, as this can cause a surge and damage the processor.
- Do not touch wires to the backs of passive and active components when the controller is on. This can cause a surge and damage the processor.
- Do not connect +12V voltage to the controller channels or PD, PG, PS sockets—this can damage the processor.
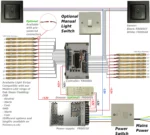
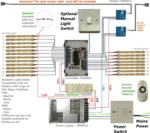
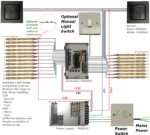
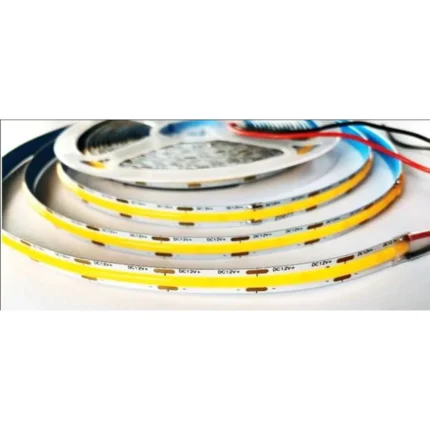
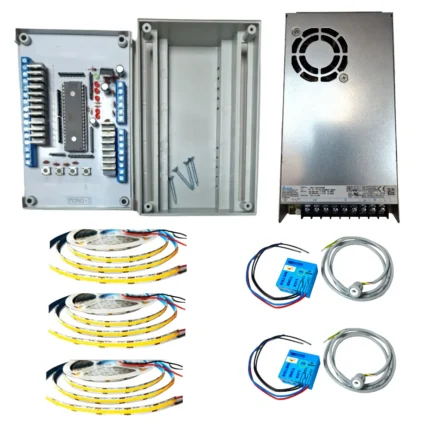
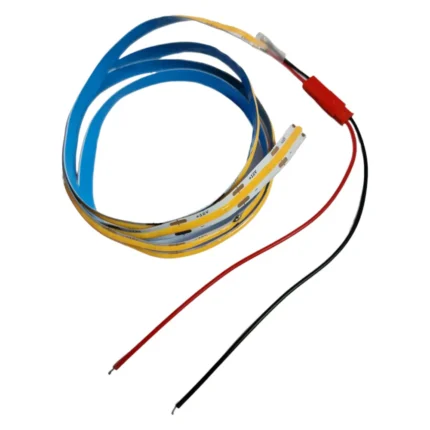
- Properly connect the (-) LED strips and other components to the appropriate channel (step 1 to channel 1, step 2 to channel 2, etc.).
- Connect all (+) LED strips and bulbs together before linking them to the (+12V LED power supply).
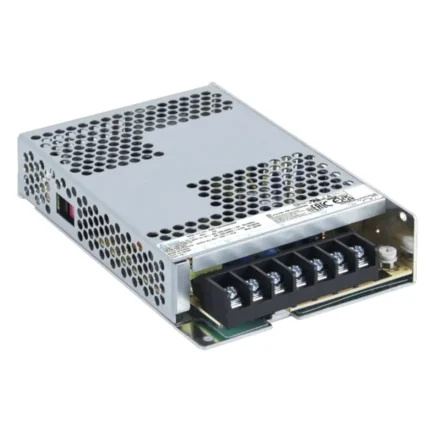
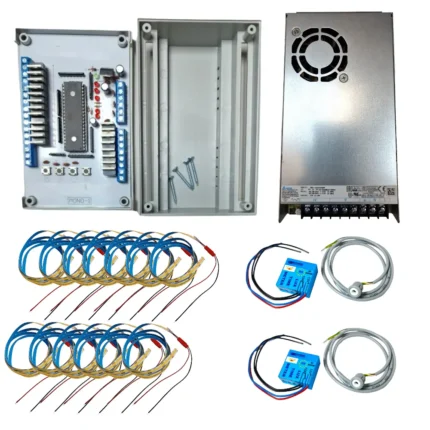
- Correctly connect the 230/12V power supply to the stair controller, ensuring -12V is connected to the -12V socket and +12V to the +12V socket.
- Create a jumper on the PS socket, then connect the 230V power supply—if done correctly, all lights will turn on.
- Turn off the power, then remove the PS jumper.
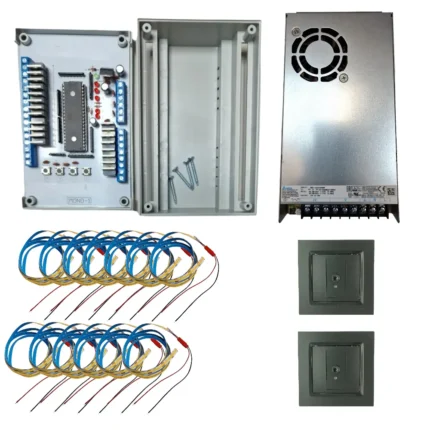
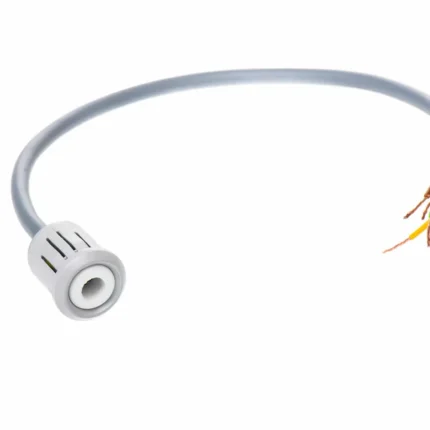
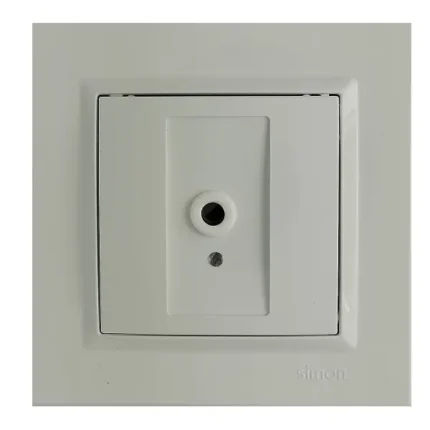
- Connect the motion/twilight sensors. Install them 25-35 cm above the ground. After installation, check the voltage at the sensor—it should be a minimum of 12V (preferably 12.05V). For “white” sensors, close the sensor after connecting the cables as it will not function correctly if left open.
- Follow the programming instructions carefully, without skipping any steps.
Technical Specifications:
- Supply voltage: 8-15V DC, typically 12V DC.
- Current consumption by the controller: 20mA.
- Power consumption by the controller: 0.25W at 12V supply voltage.
- Load capacity: Up to 1A per channel (step).
- Operating temperature range: 5-35°C.
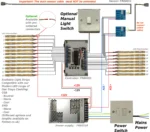
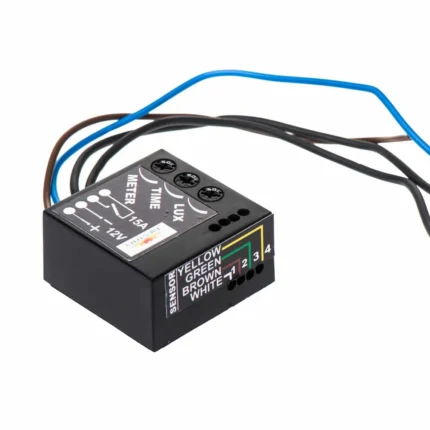
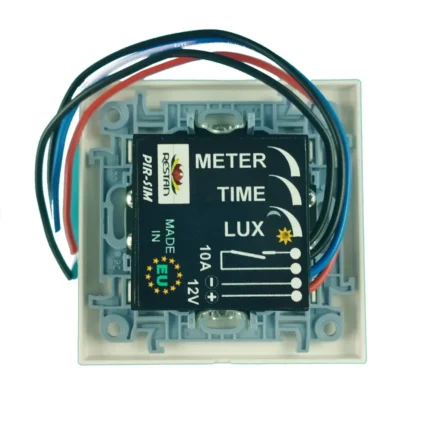
Controller Features:
- Buttons: “M”, “+”, “-“, “S” for programming
- PS: Continuous lighting input (all lights turn on when shorted)
- PG: Input for the top-down sensor
- PD: Input for the bottom-up sensor
- Inputs 1-20: Inputs for subsequent channels
- -12V: Negative power supply input
- +12V: Positive power supply input
Functions:
- Movement control from top to bottom of the stairs.
- Movement control from bottom to top of the stairs.
- Support for simultaneous movement in opposite directions (one user from the top, one from the bottom).
- Step-by-step or smooth operating modes.
- Adjust light point ignition time (from 0.25 seconds to 5 seconds).
- Adjust light point extinguishing time (from 10 seconds to 3 minutes).
- Various standby modes:
- No lights on.
- Extreme light points turn on.
- All light points turn on.
- Adjustable brightness in standby mode (0 to 50% of light source power).
- Continuous lighting function and half-landing movement support.
- Sequential ignition and extinguishing, with response when two people move on the stairs.
Programming the Controller:
- Enter programming mode by turning off the 12V DC power, pressing and holding the “M” button, and then turning on the power.
- Programming the number of steps (light points): Use the “+” and “-” buttons to select the number of light points (steps), then confirm with the “S” button.
- Programming the operating mode (step-by-step or smooth): Choose the mode with the “+” or “-” button and confirm with “S”.
- Ignition speed: Adjust the light point ignition speed (0.25 to 5 seconds) using the “+” or “-” buttons, and confirm with “S”.
- Lighting duration after the user passes: Set from 10 seconds to 3 minutes and confirm with “S”.
- Standby mode programming: Choose from three modes—no lights, all lights, or extreme lights—and adjust the brightness of the light points in standby mode.
- Save settings by pressing the “M” button, indicated by a final flash of all LEDs.


Reviews
There are no reviews yet.